Here’s the next installment for Bow Tie Friday!

Materials needed include two types of ribbon, scissors,
needle and thread, sew on Velcro, and a pendant (not pictured below; see on finished
product.)

I found a decorative 3/8” ribbon that I really liked but it
was too narrow for the bow tie, so I searched for a larger size to pair it
with. As shown below, I layered the 3/8”
ribbon and a 5/8” inch ribbon selection and stitched them together.

I cut a strip, looped it as pictured, and stitched it in
place to create the left side of the bow.
Then I made a matching piece for the right side.

Next, I cut a long strip to go down the center of the tie
with about ¾” excess length and stitched all three pieces together at the top
center. For the neck band, I cut out a 16”
piece of the 5/8” ribbon by itself. (It
will fit under the shirt collar and not be seen.) I flipped the excess length
over to the back and stitched it over the neck band onto the back of the tie. The back of the tie
is shown below.

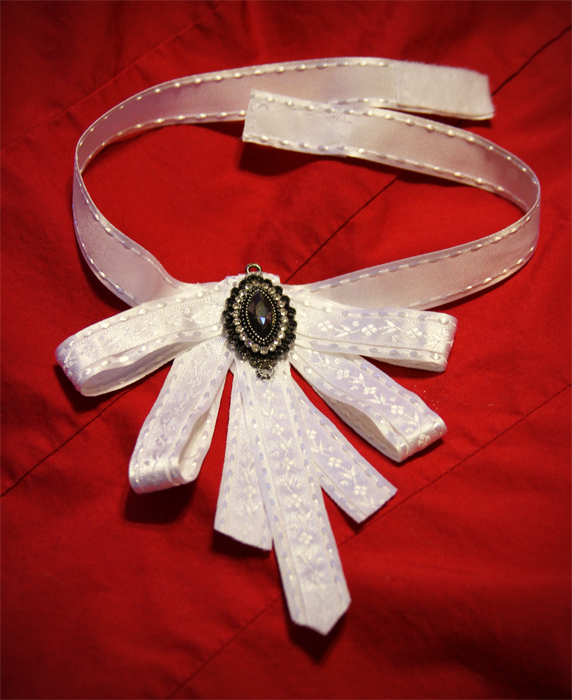
I sewed Velcro on the ends of the neck band so it can be easily
put on and taken off. Lastly, I stitched on the pendant. It brings the piece together and also helps
cover some of the stitching.
Note: I later added a little Fray Check to the cut ends of the ribbon
to prevent them from fraying.

Thanks for your tutorial. Creative!
ReplyDelete